">

DIY myggolja och klisalva

There have been many wonderful evenings this past summer but now when the nights are coming earlier and earlier, the mosquitoes have become a few too many for my taste. Then it is a relief to have a little bottle of an all-natural mosquito repellent oil that keeps the little bloodsuckers away. Most mosquito repellents that you find in the stores contain substances that I at least prefer not to use on my skin. To mix up your own mosquito repellent oil is easy. Just drop some mosquito repellent essential oils in a carrier oil and you're good to go. There are several essential oils that have mosquito repellent properties. We are talking about oils that contain either para-menthane-3,8-diol, citral, citronellol, geraniol or eugenol. Some of these are, however, very volatile but the mosquito repellent property is prolonged when you mix the essential oil in a carrier oil. See the list of essential oils that have scientifically proven mosquito repellent properties. When mixing essential oils you should also consider blending oils that smell nice together and to include oils that represent top, base and middle note to get a more complete fragrance. 

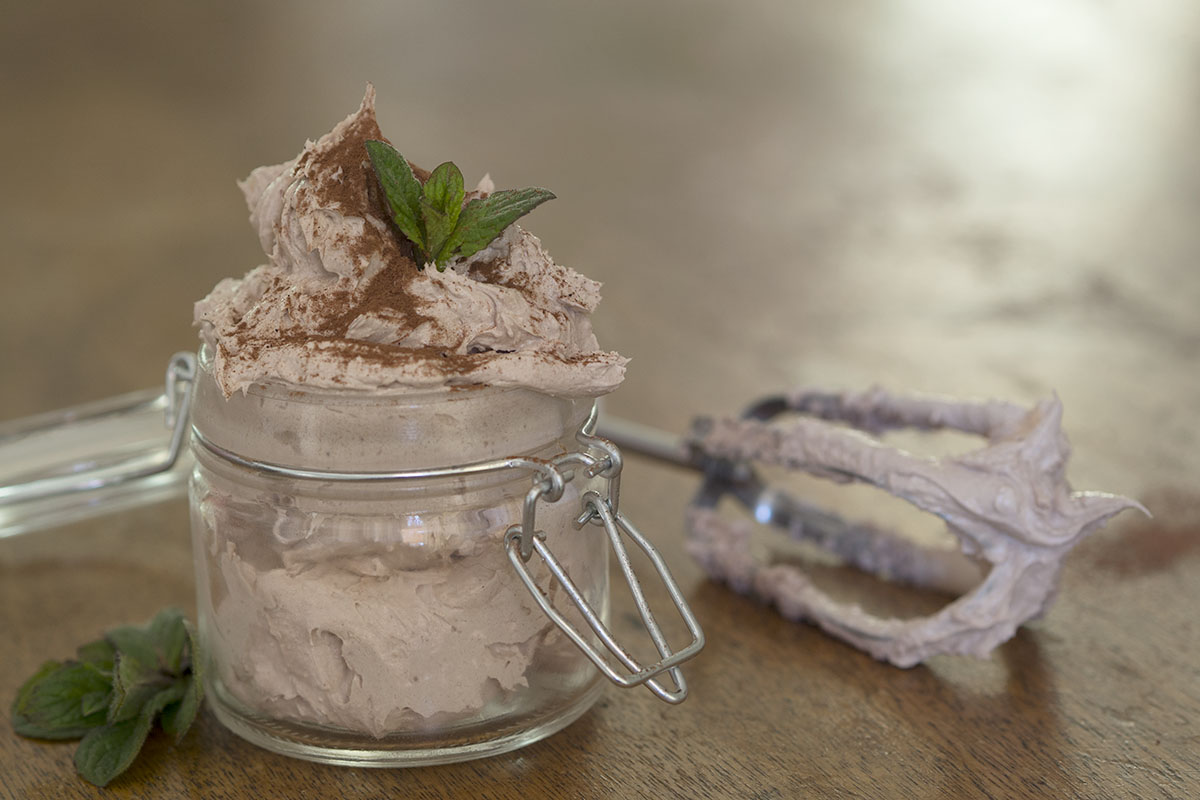
Usually, you realize that putting on some mosquito oil is a good idea when they are already swarming all around you and you can't take it any longer :) Then an effective bug bite salve can come in handy to quickly ease the itching.

Using oil and wax, a salve is easily mixed up. I chose to make my bug bite salve vegan by using carnauba wax instead of beeswax, but if you prefer beeswax, use the double amount. To get the itch-soothing effect you use oils and essential oils that have an anti-inflammatory effect on the skin. I used chamomile oil, which is an oil infused with anti-inflammatory German chamomile flowers and baobab oil that has a calming effect on the skin. If you don't have these oils you can, of course, use another carrier oil like good quality, cold-pressed rapeseed oil. I then added essential oils with anti-inflammatory and itch-soothing properties.


Mosquito Repellent Oil
10 ml roller bottle
8g Jojoba oil or some other carrier oil
5 drops Lemon eucalyptus EO (Eucalyptus citriodora) - top note. Mosquito repellent, anti-inflammatory, pain-relieving, antiseptic
1 drop Frankincense EO (Boswellia carterii) - base note that mixes well with lemon scents and lavender. Anti-inflammatory and healing properties.
2 drops Lavender EO (Lavendula angustifolia) - top/middle note. Mosquito repellent, itch-soothing and pain-relieving
2 drops Tea tree EO (Malaleuca alternifolia) - top note. Relieve bug bites, eases itching and mixes well with lemon eucalyptus and lavender
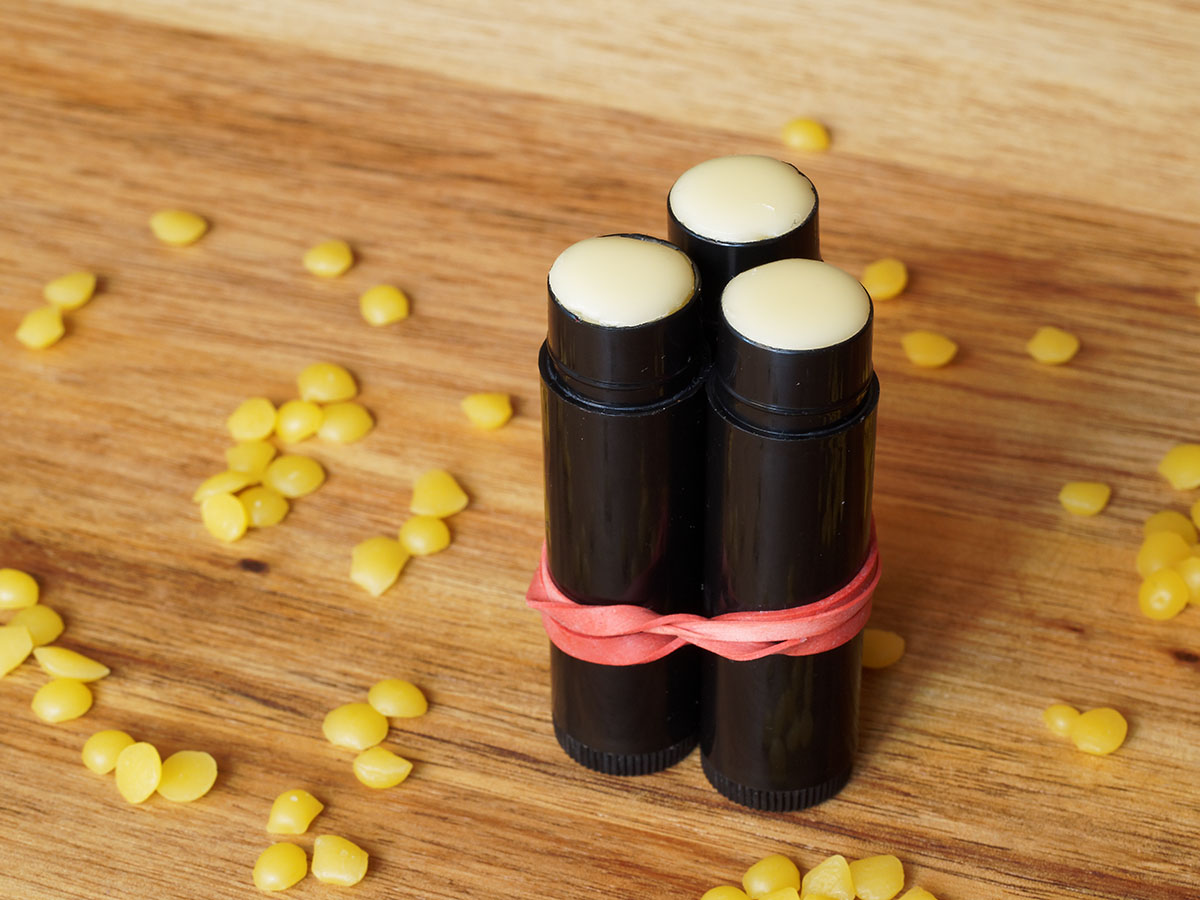
Bug Bite Salve
A small jar (20g)
8 g shea butter
3 g carnauba wax
5 g Baobab oil - anti-inflammatory
4 g Chamomille oil - oil infusion of german chamomile (Matricaria recutita) - anti-inflammatory
2 drops Lavender EO (Lavendula angustifolia) - top/middle note. Mosquito repellent, itch-soothing and pain-relieving
2 drops Frankincense EO (Boswellia carterii) - base note that mixes well with lavender. Anti-inflammatory and healing properties.
2 drops Tea tree essential oil EO (Malaleuca alternifolia) - top note that mixes well with lavender. Relieves bug bites, eases itching.

Melt the carnauba wax and shea butter in a double boiler. Remove from heat and add the baobab oil, chamomile oil and the essential oils. Stir until the mixture starts to thicken to avoid the shea butter getting grainy. Done! 


Johanna

 Mintchoklad body butter

- Mummy, said my eldest daughter the other day. Why don't you post the recipe for the lotion Ulrika made for me for Christmas?

- Do you like it?

- I Love it!!

So here comes a recipe for a wonderfully creamy and skin softening body butter that smells so deliciously of chocolate and mint that you want to eat it. This recipe has a slightly longer list of ingredients than normal but is so worth it.

Making your own body lotion is easy. You always have full control over the ingredients and get a product that contains only organic and skin-pampering ingredients and no strange chemicals. Always choose raw, virgin and non-refined oils and butters for best skin caring effect. During refinement, a lot of the vitamins, antioxidants and other goodies get lost.

In this recipe we use three different butters, raw cacao butter, mango butter and shea nilotica, which makes this body butter heavenly creamy. The inclusion of mango butter into the recipe gives the body butter a dry finish and makes it absorb better into the skin than other recipes. Tapioca and cacao powder also help to give this butter a dryer and less greasy feel. Essential peppermint oil adds a delightfully fresh scent. The vitamine E oil is there to prolong the shelf life and protect the lotion from going rancid.


Recipe

20g Cacao butter

20g Mango butter

10g Coconut oil

10g Nilotica shea butter

10g Jojoba oil

10g Sweet almond oil

15g Tapioca starch

1,6g Non-sweetened Cacao 

3 drops Vitamin E oil (1 000 IU/ml if not more)

0,4g Essential peppermint oil (mentha pipirita) (about 12 drops)


Melt together cacao butter, mango butter, coconut oil and shea nilotica in a double boiler. Remove from the heat and add the jojoba oil, sweet almond oil, tapioca starch and cacao powder. Mix together. Finally, add the vitamin E oil and essential peppermint oil if you've chosen to include them. Mix and put the bowl in the fridge. When the oils begin to set but before they are completely solid, take it out and whip it vigorously with a pair of electric beaters until it turns into a fluffy cream. Transfer into a jar. Ready to use.


NOTE! If you are pregnant you should avoid essential peppermint oil. Instead, you can use essential spearmint oil (mentha spicata), which is milder. During the first trimester though, you should avoid all essential oils to be on the safe side.


Johanna

Hemgjord deo - aluminiumfri


A new year and new beginnings. Time to clean out old garbage and get rid of old habits. Time for a change and a fresh start. A good place to start is to look over the products in your bathroom cabinet and begin to switch them out for more natural and toxic free alternatives. Most important is to scrutinize the content of your deodorant and make sure that the one you are using does not contain aluminum. Read more about why in our article "Deodorants With or Without Aluminum - What Does the Latest Science Say? " 

Today you can find several good alternatives to aluminum-containing antiperspirants that are both effective and toxin-free, but if you want to have full control over the content or find them a bit on the pricey side, it is an easy task to mix one up yourself. The most common recipe consists of equal parts of coconut oil, baking soda and starch. It seems to work just fine for many people, but if you have sensitive skin, the amount of bicarbonate can be a bit irritating. Below you find a recipe for a natural, milder and more skin-friendly deodorant containing a lower amount of bicarbonate. And thanks to two types of shea butter and jojoba oil, it is also creamier and easier to apply than many other versions. The essential oil blend gives it a fresh citrusy and slightly herbal scent that smells delicious at the same time as it makes the deodorant even more effective against unwanted body odors. But you can, of course, scent it to your preference. Try to include one or more of the antibacterial essential oils in the list for a more efficient deodorant and, if you make your own blend, make a smell test first using perfume sticks, so you don't mix up a large quantity of deodorant that you are not happy with. If you prefer, you can also skip the essential oils altogether for a neutral, scent-free version.

Ingredients (makes 100g)

20 g Shea butter (Butyrospermum parkii, also called Vitellaria paradoxa)

15 g Coconut oil virgin

15 g Shea nilotica (Vitellaria paradoxa v. nilotica) (alt. 15 g extra of coconut oil) 

3,3 g Jojoba oil

30 g Starch (optional organic - corn, tapioca, arrow root all works well)

20 g Baking soda (pure bicarbonate)

0,5 g Essential oil (about 15 drops if you don't have access to a precision scale)


1/3 (0,17 g alt. 5 dp) Lemongrass (Cymbopogon flexuosus)

1/3 (0,17 g alt. 5 dp) Sauge sclarée  (Salvia sclarea)

1/3 (0,17 g alt. 5 dp) Rosemary (Rosmarinarus officinalis)


Melt the hard oils and butter in a double boiler. Remove from the heat and add the jojoba oil, starch and bicarbonate. Use a mini whisk to get a smooth consistency. Easiest is to use a good electrical milk frother. Add the essential oils if you have chosen to include them and mix again. Pour the mix in a jar and wait for it to set. Done! 


Johanna och Ulrika

Autumn forest and black trumpet mushroomsLast weekend brought the most amazing autumn weather and we decided to go mushroom hunting in the nearby forest. Along for the walk came Java, my parents dog, always happy for a possibility to run free in the woods. It felt great being out of the city for the weekend, to be out in nature breathing clear autumn air. As an added bonus we found more mushrooms than we could possibly bring with us. Without even searching, we filled our baskets with black trumpet mushrooms.


Johanna

Shea foot lotion bars

I recently got back from a long and relaxing summer vacation. But spending a lot of time walking around barefoot on sand, gravel and grass had really been tough on my feet. They were full of deep cracks and crevices and not at all as soft as they usually are. And when my feet crack they really hurt. Since I find ordinary foot creams far from effective when it comes to healing cracks, I tried my way through the various oils and butters I had at home. My conclusion, without doubt, was that the one with most healing power, and with a clear effect from one day to another, was shea butter. However, I find shea butter a bit crumbly and not that easy to use as a moisturizer. Therefore, I decided to put together a lotion bar with as much shea as possible and only dilute it just enough to make it easier to apply not to decrease the healing efficacy. After several not very successful attempts with various oils, it was clear that coconut oil or any other liquid oil for that matter only seemed to prevent the shea butter from entering the skin. By just mixing the shea with only a small amount of beeswax, I got a much better result. Finally, I reached an optimal mixture consisting of 80% shea butter and 20 % beeswax. The result was a bar with firm consistency. It was easy to apply, did not crumble and yet was thick enough to stay in the cracks. To make it a bit more luxurious I also added a few drops of essential lavender and rosemary oils that both have skin healing properties.


Recipe

80% shea butter

20% beeswax

A couple of drops of an essential oil with skin healing properties (e.g. lavender, rosemary, German chamomile, palmarosa, frankincense, sandalwood)

Melt together shea butter and beeswax in a double boiler. Remove from the heat and add the essential oils of your choice if you decided to include any. Pour into molds and wait for it to set. I used small muffin molds in silicone, but any silicone mold works fine or you could even pour the mixture into empty lip balm tubes. 

Ulrika

Felted soap from Malin i Ratan
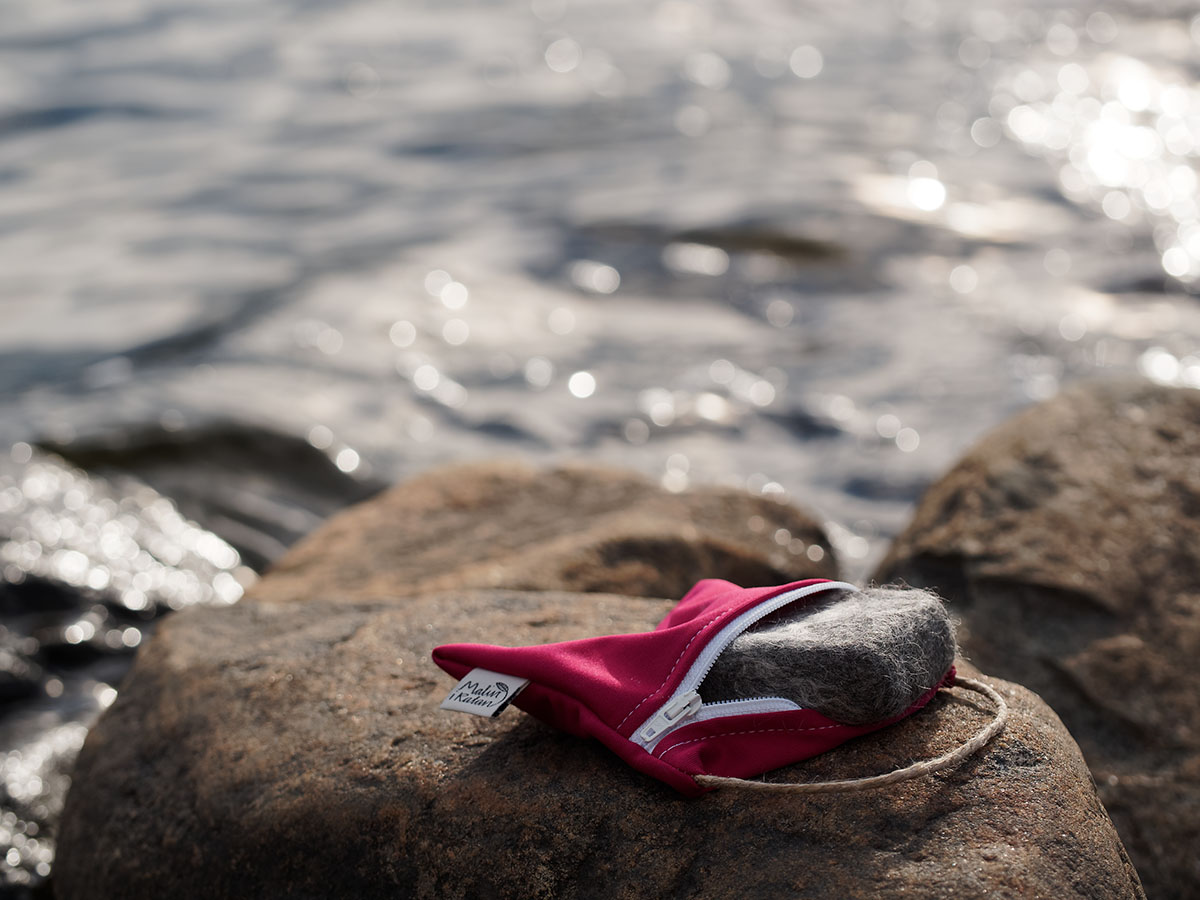
When I visited "Malin i Ratan" this summer, I couldn't help bringing one of her felted soaps back with me. An exciting new addition to Malins line of products. Exactly which ones of Malins organic soaps are available as felted versions vary. The one I have tried contained Red Clay & Rose - Oriental Scent of Patchouli. Seen in the picture with one of Malins practical and cute little soap bags. The soap looks absolutely fabulous sitting on the bathroom sink, like a little soft rock, and I keep getting compliments from my guests who wonder where I've found this wonderful soap. And the soap is actually really wonderful. It produces a rich, creamy lather, feels moisturizing and smells lovely. The only drawback might be that the felted wool prolongs the drying of the soap, compared to other soaps. On the other hand, the wool around the soap protects it and keeps it from floating away out on the sink, even after it has gotten really soft and wet. A hot tip is to keep several soaps and to switch between them, to give them a chance to dry every once in a while.

Johanna

Raspberry seed oil not a sunscreen
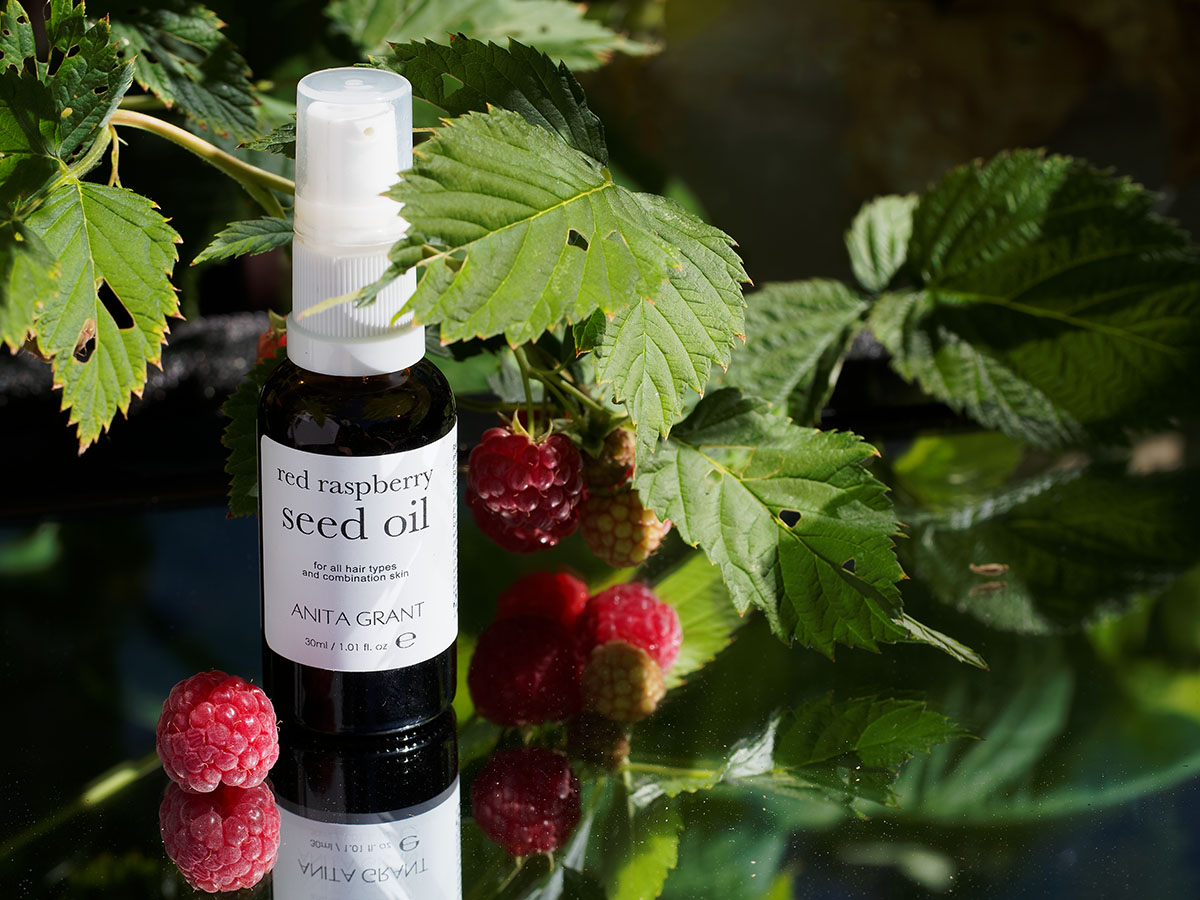
We love raspberry seed oil! It's an absolutely wonderful facial oil, rich in tocopherols, carotenoids and a bunch of other antioxidants. However, there has evolved an unfounded belief that this oil contains sun protection properties superior to many commercially developed sunscreens and you can often read on blogs and social media that raspberry seed oil has an inherent sun-protection factor as high as SPF40. It would be truly amazing if this were true, however, we have looked everywhere. There is NO scientific evidence that supports these statements. We also did our own test last summer. On the pale back of a willing volunteer, we applied locally Raspberry seed oil and different strengths of a commercial sunscreen. After 2 hours of sun exposure, we could not see that the raspberry seed oil provided any sun protection effect, whereas the protective effect from the SPF20 commercial sunscreen was easily distinguishable.

In conclusion, raspberry seed oil is a wonderful facial oil to use when spending a lot of time in the sun. Use it for its skin-caring properties and because its antioxidants most likely can help the skin to repair DNA damage, but don't forget to also apply a product containing a properly evaluated sunscreen agent to avoid getting a nasty sunburn. 

Johanna


Vegan cacao butter lip balm

For those of you who prefer vegan ingredients or are not really that into beeswax, here is a recipe for a completely organic, vegan lip balm with lovely, moisturizing cacao butter and a natural shine from coconut oil and carnauba wax.


What you'll need:

8 g Sweet almond oil

4 g Cacao butter

4 g Coconut oil

3,4 g Carnauba wax ( alt. 3g Candelilla wax)

Empty lip balm tubes or small tins or containers.


Melt together everything in a in a double boiler (or in a small saucepan or heatproof container in a slightly larger pan containing warm water). Pour the melted oils into the tubes or containers and wait for it to set. That is all!

vegan cacao lipbalm pin


Ulrika

Upcycling av PET-flaskor
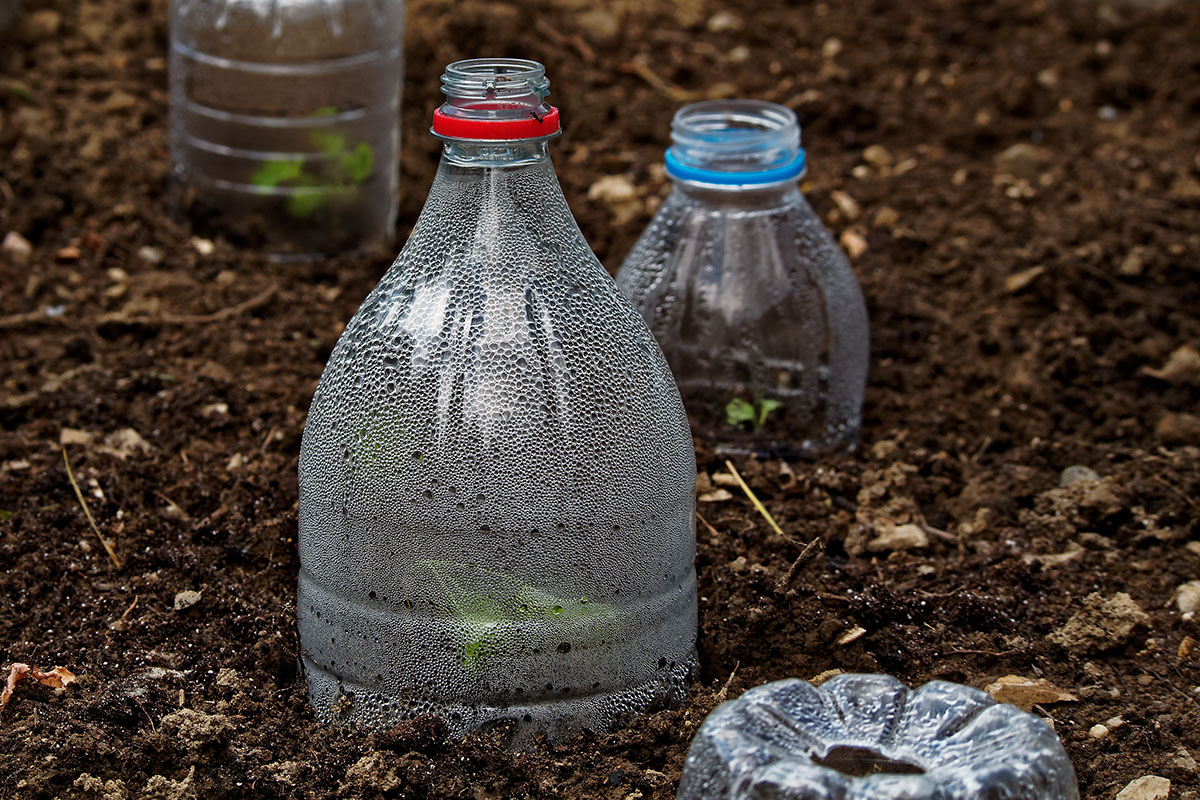
The baby-kale plants are growing fine in their mini-greenhouses of upcycled PET-bottles in spite of night temperatures closer to 0ºC here in the French Alpes.

Ulrika

diy lappbalsam enkelt
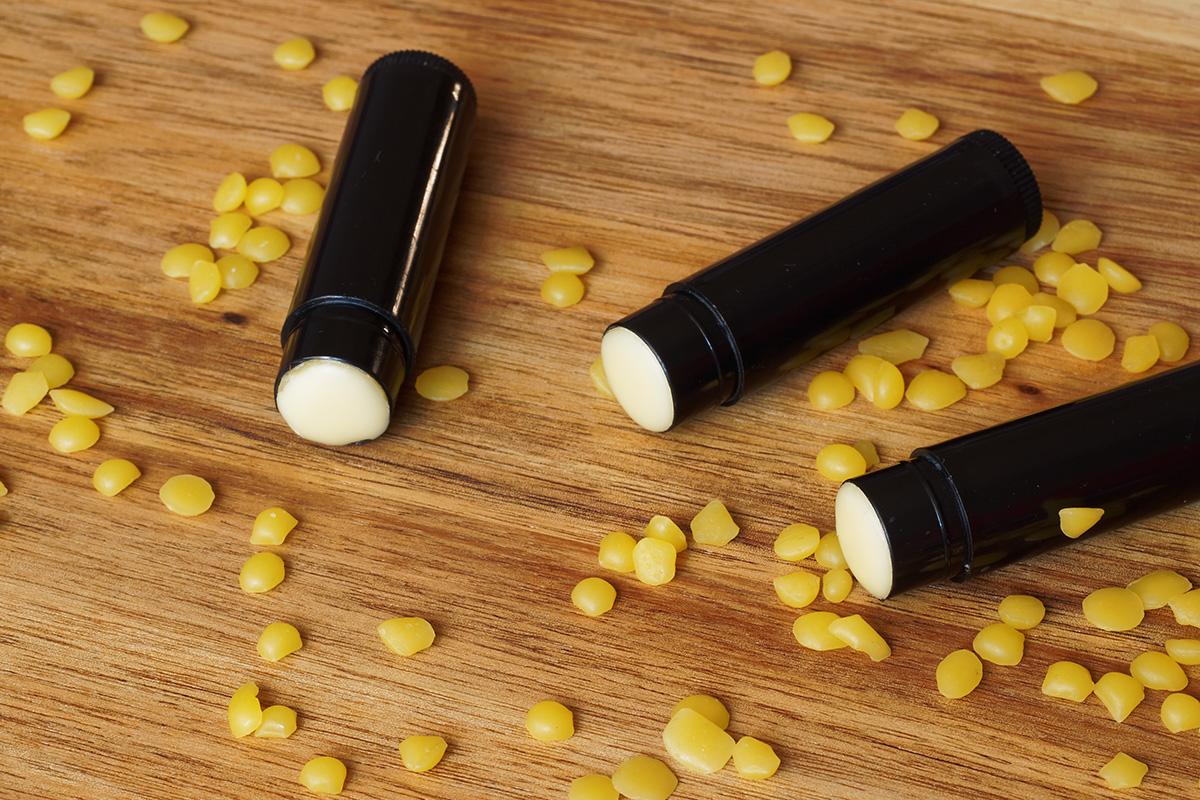
This is the first in our series of lip balm recipes and probably the simplest DIY skin care product you can make. A real 5-minutes-recipe containing only two ingredients - equal proportions of coconut oil and beeswax. While any other oil mixed with 50% beeswax only turns into a brick-hard unusable mass, coconut oil and beeswax together becomes a lovely softening and protecting lip balm that stays on the lips for a very long time without getting sticky or making your lips look white and lifeless. A lip balm that also works great for Him since it is completely free from shine. 


You'll need:

50% Coconut oil

50% Beeswax

One or more empty lip balm tubes (you can find them online or reuse an old one)

A lip balm tube normally has a capacity of 6-7 ml. I used 10 g of each coconut oil and beeswax and it was more than enough to fill up 3 tubes.


diy lappbalsam enkelt kokosolja bivax

diy lappbalsam enkelt recept


Melt together the beeswax and the coconut oil in a double boiler (or a small saucepan or heatproof container in a slightly larger pan containing warm water) and pour it into the tubes. Tip - if you're making several tubes, attach them together with a rubber band and they are less likely to fall over. That's all. It couldn't be easier.


Ulrika

Home made, cold processed soap. Organic and natural.Ever since we wrote the article about soap I have been wanting to try and make some soap myself. Cold processed, organic and natural soap, with complete control over the ingredients. Even if I from time to time have dabbled in DIY skin-care products, so far I have not yet made soap. Now I have finally come around to it. After careful studies of different techniques and ingredients, I decided to follow a basic recipe from Jan Berry who runs the blog "The Nerdy Farmwife", partly because it was simple and did not require other ingredients than I already had at home and partly because she is one of few big soap bloggers who make completely natural soaps free from palm oil and without additions such as sodium lactate, isopropyl alcohol, titanium dioxide or other non-natural colorants.

The chemist in me though, found it difficult to stay away from experimenting. To make one batch of 7-8 soaps, all of them the same, and then wait for 4-6 weeks to try them out seemed like an unthinkably slow process. So I down-sized the recipe to fit a silicon mold with 6 individual cavities and after I stirred the soap batter and reached so-called "trace", i.e. emulsified the batter with the help of a stick blender, I separated the batter into 6 containers in order to at least variate the additions. Honey, coffee scrub, crushed oat and 3 different kinds of clay; kaolin, green montmorillonite, rhassoul (top to bottom, left to right). 

The result? First impression, it was successful. They hardened as they should and I managed to unmold them. They feel slightly soft, but that is supposed to be normal for soap containing high amounts of olive oil. With the muddled colors and irregular tops, they have a lovely natural and home-made look about them. How they are to wash yourself with? That, sadly, I will find out in 6 weeks time.

Equipement for soap production
Soapmaking equipement. Digital scale, preferably a precision scale that ways down to 0,01g. I used an ordinary kitchen scale though. Measuring containers, spoons and spatulas. Thick-bottomed pot or waterbath to melt hard fats. Protective glasses and gloves. A Thermometer is needed to check the temperature of the oil and lye solutions. Either a regular cooking thermometer or even better, an infrared. Stick blender to stir the emulsion of oil and lye solution. Before you start, learn about safety, how to deal with lye (NaOH) and how to use a Lye Calculator.

Cold processed soap day 1Cold processed soap day 2


Ulrika


Whipped body butter cacao and shea - easy DIY

A friend's 10-year-old has been nagging me for a long time now if we cannot do some natural skin care together. That is something that must be encouraged!  So now during the autumn break, we took the opportunity to do some lovely, moisturizing whipped body butter. It is easy to make and feels luxurious this time of year. When the autumn starts to set in with shorter days and temperatures closer to zero and the skin needs something extra.

I usually mix 2 parts hard fat like cacao butter or cacao butter + shea butter with 1 part virgin coconut oil and 1 part liquid oil like almond oil. But you can also use organic cold pressed sunflower oil or canola oil. We also added a little bit of beeswax in order for the fluffy consistency to be less sensitive to heat. Adding a little bit of starch, like maize or arrowroot powder to the oils before they cool make the butter feel less greasy. Use what you find at home.

Recipe:

75 g Cacao Butter

75 g Shea Butter (alt. only Cacao Butter, i.e. 150 g instead of 75 g)

75 g Virgin Coconut Oil

75 g Sweet Almond Oil (alt. organic cold pressed sunflower or canola oil)

1 tsp Beeswax

5 tsp Organic Maize Starch (or Arrowroot powder)

Vispat body butter diy - recept

Weigh everything except for the starch powder melt on low heat, either in a double boiler (or in a small saucepan or heatproof container in a slightly larger pan containing warm water). Add the maize starch or arrowroot powder (stir it in a little of the oils first to avoid lumps). Transfer the oil mixture to a bowl and let it cool, either in the fridge or make a cold water bath in the sink. The oils should begin to set, but not completely solidify. Otherwise, it is too hard to whip. When the mixture has set, whip it with an electrical whisk until it looks like whipped cream. Enjoy!

Ulrika

Soluppgång över GrenobleTo get out early in the morning, just before sunrise and go for a walk, just you and your camera and to capture the first rays of the sun breaking through the mist when everyone else is rushing to work. That is luxury. Just the other day I did just that, to take pictures of Grenoble in morning light, the city that I live in since 6 years now. During the autumn, the mist covers the city like a soft blanket that slowly disappears during the late morning hours. I walked up to the old fort, La Bastille, to get a view of the whole town and the surrounding mountain chains, just as the sun climbed over the mountain tops illuminating the mist with a wonderfully soft golden light. What a reward. Only for me and a handful joggers while everyone else was stuck in trafic.

Morgonljus över Grenoble

Höstfärg på löven och morgondimma

Utsikt över Grenoble i morgonljus

Höstfärger och morgonljus

Grenobles välkända bollar upp på bastiljen

Ulrika

Nyponros blog

Summer is finally here and the wild flowers are fully in bloom. For those of you who want to know more about us, who are behind Nyponros, we now launch Nyponros Blog.

I live together with my husband and three kids in an apartment in Stockholm. I am trying to create some structure in the more or less chaotic, but wonderful life with small kids. I dream about finding the time to grow plants and vegetables in our yard, practice more yoga and learn how to make sourdough bread.

A few years ago Ulrika moved to Grenoble in the French Alps where she has found a better balance in life, with more time to enjoy the beautiful nature, see friends and do sports. Skiing in the winter and hiking and some rock climbing in the summer.

In addition to our great interest in natural skin care, we both love photography.

There is nothing more amazing than to get up really early to catch the morning light, or just hurry out  after the rain just stopped to capture that magical light that only exists for a few brief moments.


Johanna